Moodle is the common student learning platform for student course delivery in School District No. 27 (used in grades 8 to 12). Moodle allows the student to recieve their course content and communicate with their instructor.
Student Guide by shown below, or by choosing the following link to view the guide in Adobe Acrobat ( Moodle - Student User Guide ).
The Teacher user guide is accessed by choosing this link ( Moodle User Manual - All Student and Teacher Options ).
The Teacher developer Guide for Moodle is accessed by choosing this link ( Moodle User Manual - Teacher Development Module ).
Log onto Moodle
To log onto Moodle, type the following address into your Web Browser or choose the following link:
OR the link is from www.sd27.bc.ca, then Parent and Students followed by Learning Resources where you will see the Moodle link.
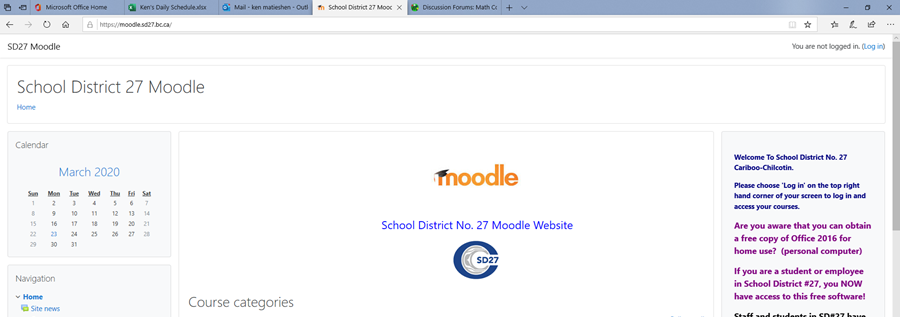
At this point you will be presented with the following screen where you would choose “Log in” to my Moodle (See Below).
You would then enter your username (first and last name with no spaces or capitals and a period between the names followed by @sd27.bc.ca– e.g. joe.who@sd27.bc.ca) and your regular desktop/email password (all in lower case) and choose “Login.”
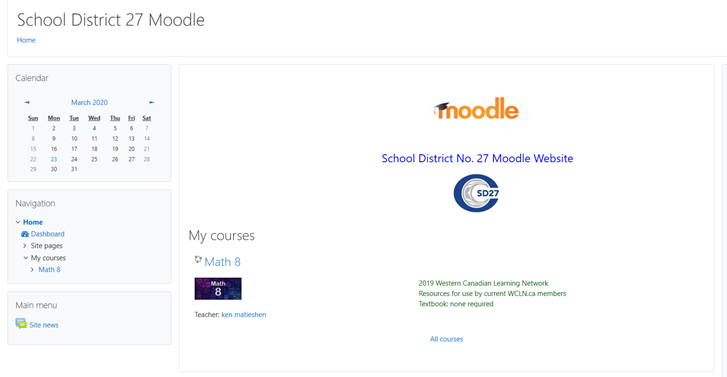
You will now enter Moodle with full access to the courses you will be taking (See Below).
To enter a course, click on the link to the course you want to enter.
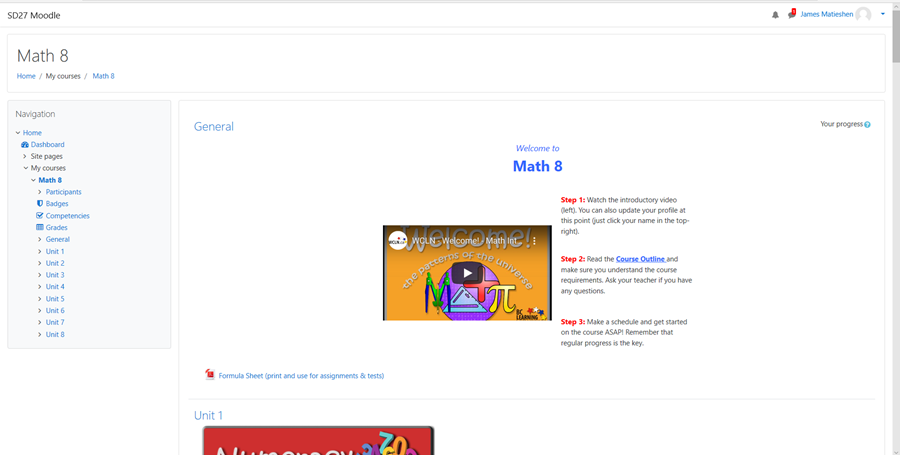
You will then enter the Moodle Classroom which will look similar to what is pictured below.
Navigating a Moodle Classroom
All Moodle Courses will look something as pictured above where you have quick course links either through the icons listed in the center of the screen or on links on the sides of the screen.
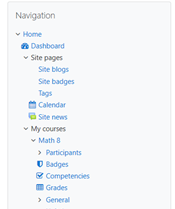
The important links on the left are:
- “Blogs” – allows you to participate in online discussion topics (some courses will mandate your use of discussions).
- “Calendar” – takes you to the course calendar where deadlines are displayed.
- “Grades” – provides to you a list of the grades you have achieved in the class (inserted by your instructor for assignments or a computer-generated test you have completed).
On the top right you can choose your name and choose “profile” to allow you to change your picture and manage your personal information.
Learning Modules
Learning Module pages are pages that are available for you to read and in some cases to respond to in an Assignment, Test, Forum, Chat, Quiz, or Survey. These pages may also be called course notes, lecture notes, course readings, modules, or units.
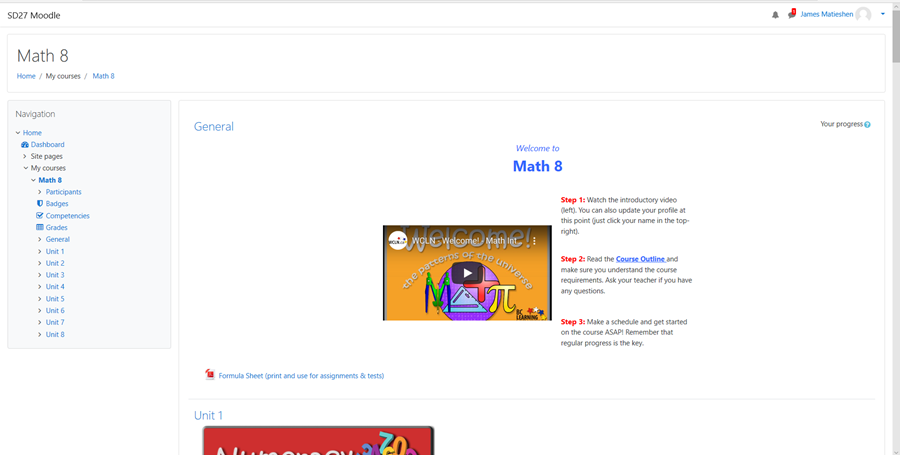
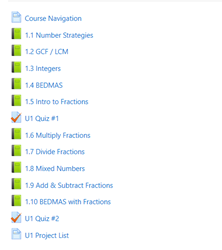
To begin the course, start at the top link, and begin working your way down (See Below).
When you start, you will see content, and instructions/lessons which may comprise of something to read, audio, video, an interactive presentation, a link to another web site, or a worksheet to print and complete. These pages will not look the same from class to class because a content page can be any formatted style.
Remember: By choosing the print button on your web browser you can print all content pages . Please ask your teacher about printing and submitting assignments.
Using the Course Calendar
Course Calendar allows you to read and post entries on the course calendar.
Notice that the calendar looks just like most paper calendars with a grid divided into days and weeks. To enter the calendar, choose Site Pages on the left and then Calendar (See Below).
Your instructor may be using the calendar option to communicate major due dates for assignments or other pertinent information regarding your course, or you may use it for yourself to keep track of your progress and important dates for course completion. In either case you will see entries in the calendar for you to read. To find out more details about a calendar entry, click on the date. Here you will see more specific details about the day’s activities (See Below).
Messaging
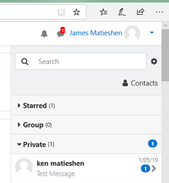
To enter the Message area, choose the Message icon on the top right hand menu.
You will see your teacher and other students to message. Simply choose the message from the individual to see the message.
You can send the individual a message by choosing their name, and writing a message.
Doing an Exam
To do an exam, choose the Exam Link.
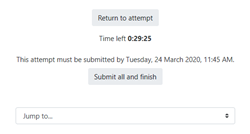
At the end of the test, choose Submit All and Finish, or Return to Attempt.
Submitting an Assignment
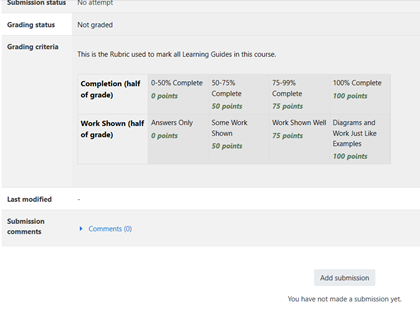
To submit assignments, you would choose the assignment hand-icon.
Then choose Add Submission.
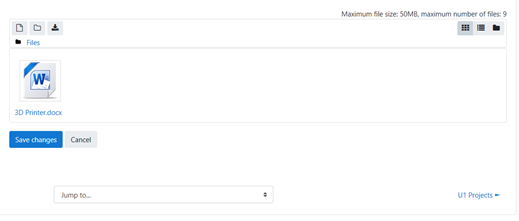
Drag and Drop or Upload the Files. Choose Save Changes when all of your files are uploaded.


